Installation
Requirements
Before installing our script, ensure that your server meets the following requirements:
- Apache, nginx, or another compatible web server
- PHP >= 8.1 or higher
- MySQL Database server
PDOPHP extensionOpenSSLPHP extensionmbstringPHP extensionexifPHP extensionfileinfoPHP extensionxmlPHP extensionCtypePHP extensionJSONPHP extensionTokenizerPHP extensioncURLPHP extensionzipPHP extensioniconvPHP extension- Ensure the
mod_rewriteApache module is enabled
PHP Configuration
Open your php configuration file php.ini and change the following settings.
memory_limit = 256M
max_execution_time = 300
If you are using cPanel, you can follow this article to change your PHP memory limit settings.
TIP
On this project, we're using the Laravel 10.x. Please go to Laravel documentation page for more information.
Installation
Install with our Installer UI
Watch the video tutorial to see how to install our script with the installer UI:
You can install our script with our installer UI by following these steps:
- Create database and extract source codes into your web root directory.
- Go to
[your-domain.com]to start installation. - Step by step to set up your database connection, site information and administrator.
- Login and set up your website on Welcome Board.
Manually
Watch the video tutorial to see how to install our script manually:
You can install our script manually by following these steps:
Upload all files into the root folder of your hosting (normally, it is
public_html).Create a database and import data from
database.sql(it's located in source code).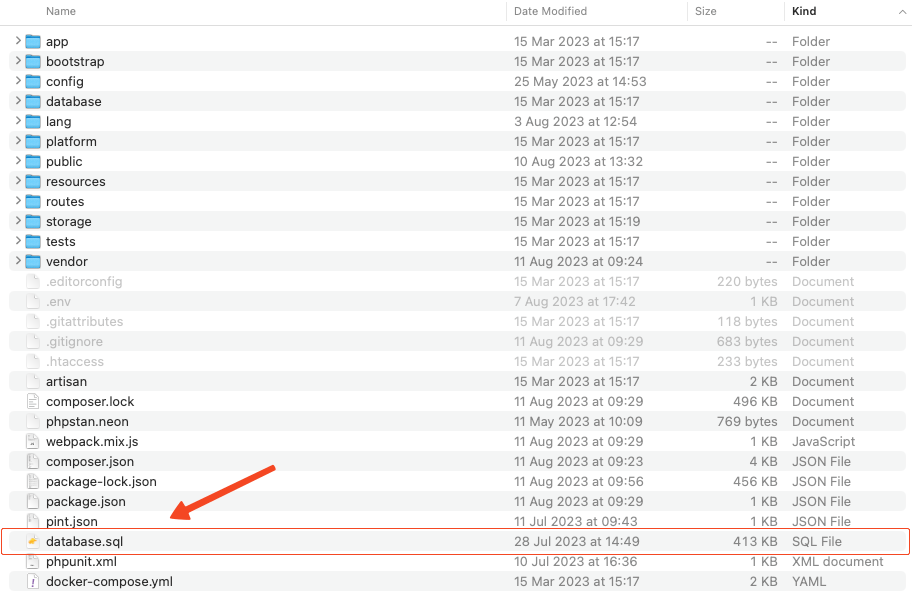
Update your database credentials and
APP_URLin.env.
Go to
/adminto access to admin panel.The default admin account is
admin-12345678.
Install in a sub-folder
WARNING
Since our script is based on the Laravel framework, its root folder is /public. If you're installing it in a sub-folder, you'll need to access your-domain.com/sub-folder/public. To remove /public from the URL, follow the steps in the provided video tutorial.
TIP
For Laravel developers looking to customize the source code in platform/core and platform/packages, delete the /vendor folder, and then run the composer install command to reinstall vendor packages.