Push Notifications Setup Guide
This guide will help you set up push notifications for your Botble Ecommerce Mobile App. Follow these steps to enable notifications for both Android and iOS.
What You'll Need
Before starting, make sure you have:
- A Google account (for Firebase)
- Access to your app's source code
- For iOS: An Apple Developer account ($99/year)
- Your Botble website admin access
Overview
Push notifications in this app work through Firebase Cloud Messaging (FCM):
- Mobile App → Registers device token with your Botble backend
- Botble Backend → Stores device tokens and sends notifications via FCM
- FCM → Delivers notifications to devices
Step 1: Create a Firebase Project
- Go to Firebase Console
- Click "Create a project" or "Add project"
- Enter your project name (e.g., "My Ecommerce App")
- Follow the setup wizard (you can disable Google Analytics if not needed)
- Click "Create project" and wait for it to complete
- Note your Project ID - you'll need this later
Step 2: Configure Android App
2.1 Register Android App in Firebase
- In Firebase Console, click "Add app" → "Android"
- Enter your Android package name
- Find it in
app.jsonunderandroid.package(e.g.,com.yourcompany.app)
- Find it in
- (Optional) Add app nickname and SHA-1 certificate
- Click "Register app"
2.2 Download Configuration File
- Click "Download google-services.json"
- Save this file to your computer
2.3 Add to Your Expo Project
Place the google-services.json file in your project root directory (same level as app.json).
Then update your app.json to reference it:
{
  "expo": {
    "android": {
      "package": "com.yourcompany.app",
      "googleServicesFile": "./google-services.json"
    }
  }
}
For detailed instructions, visit: Firebase Android Setup Guide
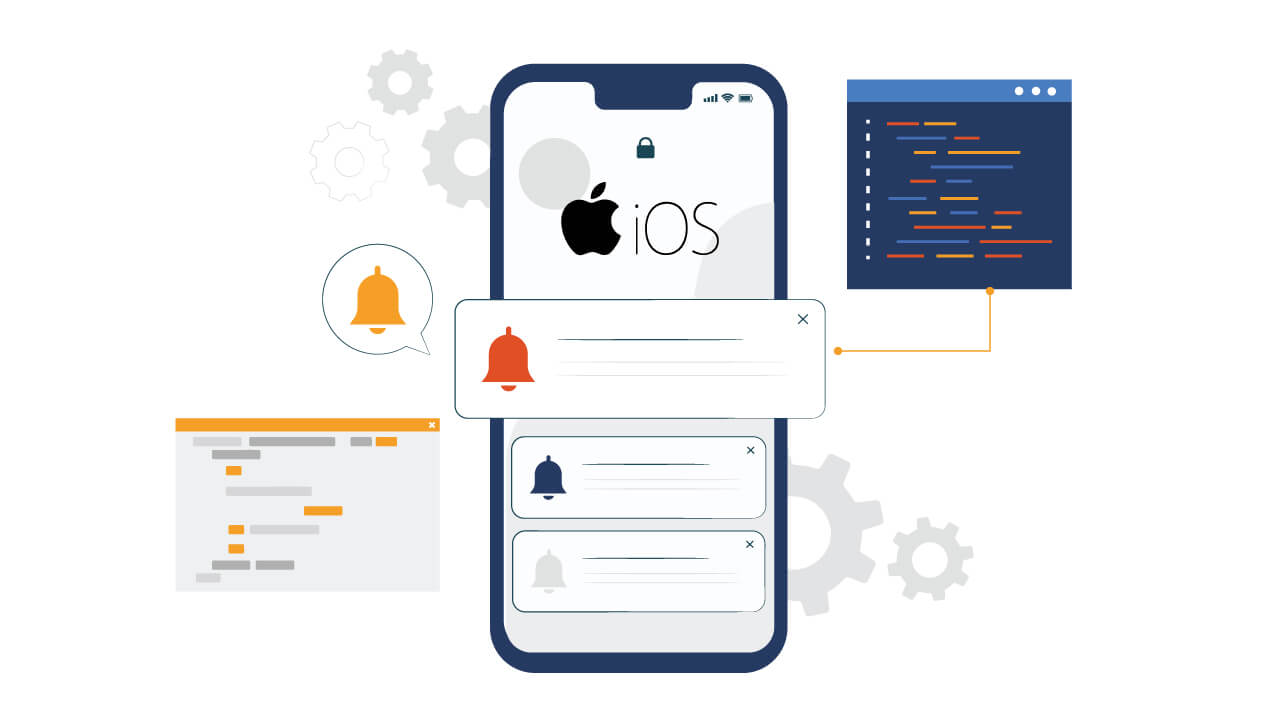
Step 3: Configure iOS App
3.1 Register iOS App in Firebase
- In Firebase Console, click "Add app" → "iOS"
- Enter your iOS bundle ID
- Find it in
app.jsonunderios.bundleIdentifier(e.g.,com.yourcompany.app)
- Find it in
- (Optional) Add app nickname
- Click "Register app"
3.2 Download Configuration File
- Click "Download GoogleService-Info.plist"
- Save this file to your computer
3.3 Add to Your Expo Project
Place the GoogleService-Info.plist file in your project root directory (same level as app.json).
Then update your app.json to reference it:
{
  "expo": {
    "ios": {
      "bundleIdentifier": "com.yourcompany.app",
      "googleServicesFile": "./GoogleService-Info.plist"
    }
  }
}
3.4 Enable Push Notifications Capability
When building for iOS, EAS Build will automatically add the Push Notifications capability. However, you need to ensure your Apple Developer account has push notifications enabled:
- Go to Apple Developer Portal
- Navigate to Certificates, Identifiers & Profiles
- Select your App ID
- Enable Push Notifications capability
For detailed instructions, visit: Firebase iOS Setup Guide
Step 4: Configure APNs for iOS
For iOS devices to receive push notifications, you need to set up APNs (Apple Push Notification service):
Option A: APNs Authentication Key (Recommended)
- Go to Apple Developer Portal
- Navigate to Keys and create a new key
- Enable Apple Push Notifications service (APNs)
- Download the
.p8key file - In Firebase Console:
- Go to Project Settings → Cloud Messaging tab
- Under Apple app configuration, click Upload for APNs Authentication Key
- Upload your
.p8file - Enter your Key ID and Team ID
Option B: APNs Certificates
- In Firebase Console:
- Go to Project Settings → Cloud Messaging tab
- Under Apple app configuration, click Upload for APNs Certificates
- Follow Firebase's guide to create and upload certificates from Apple Developer Portal
Step 5: Configure Botble Backend
Your Botble website needs to be configured to send push notifications.
5.1 Generate Service Account Key
- In Firebase Console, go to Project Settings (gear icon)
- Click Service accounts tab
- Click "Generate new private key"
- Download the JSON file (keep this secure!)
5.2 Configure Botble Admin Panel
- Log in to your Botble admin panel
- Go to Settings → API Settings
- Scroll to Push Notifications (FCM v1 API) section
- Enable Push Notifications
- Enter your Firebase Project ID
- Upload the Service Account JSON file you downloaded
5.3 Test Notification
- In Botble admin, go to Settings → API Settings
- Scroll to Send Custom Notification section
- Enter a test title and message
- Select target devices (All Devices, Android Only, iOS Only, or Customers Only)
- Click Send Notification
Step 6: Build and Test
Build Your App
After adding the Firebase configuration files, rebuild your app:
# For development
npx expo prebuild --clean
npx expo run:android
npx expo run:ios

# For production build
eas build --platform all
Test Notifications
- Install the app on a real device (not simulator/emulator)
- Open the app and log in (this registers the device token)
- Send a test notification from Botble admin
- You should receive the notification on your device
Troubleshooting
Notifications not appearing
- Use a real device - Simulators/emulators often don't support push notifications
- Check Firebase configuration - Ensure files are in the correct locations
- Verify app.json - Make sure
googleServicesFilepaths are correct - Check device token - Verify tokens are being registered in Botble admin (Settings → API Settings → Active Device Tokens)
iOS notifications not working
- Ensure Push Notifications capability is enabled in Apple Developer Portal
- Verify APNs key/certificate is uploaded to Firebase
- Check that the bundle ID matches in Firebase and your app
Android notifications not working
- Verify
google-services.jsonis in the project root - Check that the package name matches in Firebase and your app
- Ensure you rebuilt the app after adding the config file
Where to find package name/bundle ID
- Android package: Check
app.jsonunderexpo.android.package - iOS bundle ID: Check
app.jsonunderexpo.ios.bundleIdentifier
No device tokens in Botble admin
- Make sure the app is connecting to your Botble API correctly
- Check that users are logged in (device tokens are registered on login)
- Verify API is enabled in Botble settings
Security Notes
- Never commit your
google-services.jsonorGoogleService-Info.plistto public repositories - Keep your service account JSON file secure - it has full access to send notifications
- Add Firebase config files to
.gitignoreif your repository is public:
# Firebase config files
google-services.json
GoogleService-Info.plist
Expo Go Limitations
Push notifications are not supported in Expo Go on Android (SDK 53+). The app handles this gracefully:
- The
expo-notificationsmodule is dynamically imported at runtime - On Android in Expo Go, the module import is skipped entirely
- All notification functions return safe defaults (
null,false,0) when unavailable - Use
isNotificationsSupportedSync()to check support before showing notification UI
For full push notification testing, use a development build (npx expo run:android or npx expo run:ios).
Notification Data Structure
Notifications from the backend include these data fields:
interface NotificationData {
  type?: string;       // e.g., "order_status", "product", "promotion"
  orderId?: string;    // Links to order detail screen
  productId?: string;  // Links to product detail screen
  url?: string;        // Custom URL (internal or external)
  action_url?: string; // URL from API notification (validated against SITE_URL domain)
  icon?: string;       // Image URL for notification
}
The action_url field is validated against SITE_URL domain for security — external URLs from untrusted domains are rejected.
Device Token Lifecycle
- Permission request — User grants notification permission
- Token generation — Expo push token obtained via
getExpoPushTokenAsync() - Server registration — Token sent to backend via
POST /api/v1/device-tokens - On logout — Token unregistered from backend via
DELETE /api/v1/device-tokens/{token} - Token refresh — Re-registered on each app launch when user is authenticated
Need More Help?
If you're stuck:
- Double-check you followed all steps above
- Make sure file names are exactly
google-services.jsonandGoogleService-Info.plist - Verify files are in the correct locations (project root)
- Check Troubleshooting Guide for more solutions
- Contact support at botble.ticksy.com