Order Returns (RMA)
The order return management system (also known as RMA - Return Merchandise Authorization) allows customers to request returns for completed orders and provides admins with tools to review and process these requests.
Overview
The return system includes:
- Customer-initiated returns - Customers can request returns from their account
- Return reasons - Structured reasons for returns
- Return items - Select specific products and quantities to return
- Return status workflow - Track return requests through processing stages
- Refund integration - Process refunds after approving returns
- Return policies - Configurable return windows and eligibility rules
Enabling Returns
Navigate to Ecommerce -> Settings -> Return Settings.
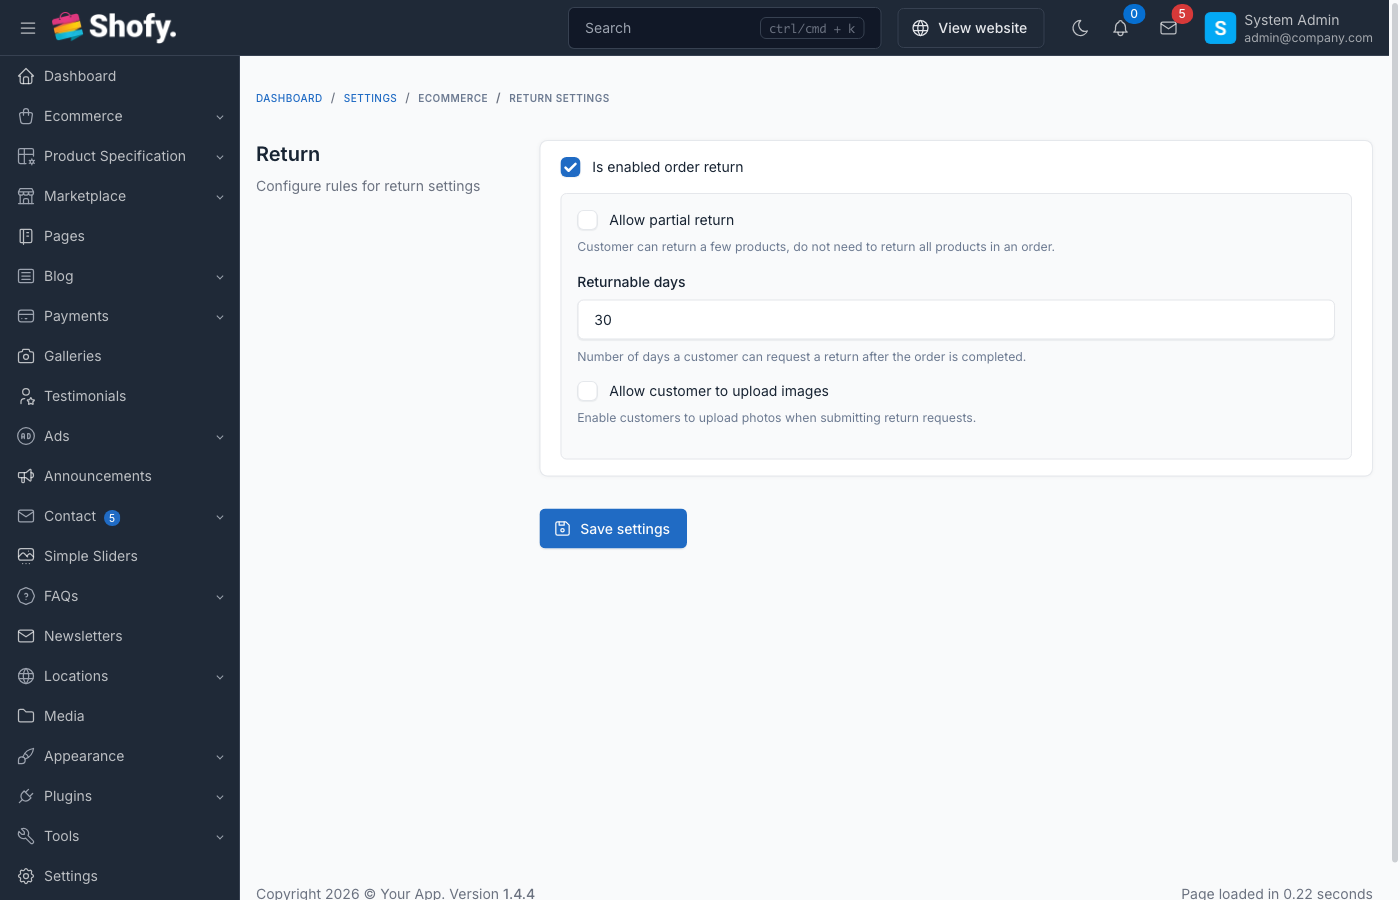
Toggle Enable order returns to activate the feature.
Return Settings
| Setting | Default | Description |
|---|---|---|
| Enable order returns | Off | Master switch for return feature |
| Returnable days | 30 | Days after order completion to allow returns |
| Returnable statuses | Completed | Order statuses eligible for returns |
TIP
Only orders with "Completed" status can be returned. Orders must be within the returnable days window.
Return Eligibility Rules
An order can be returned if:
- Return feature is enabled - Setting is turned on
- Order is completed - Order status is "Completed"
- Within return window - Order completed date is within returnable days
- No existing return - Order doesn't already have a return request
- No digital downloads - For digital products, items haven't been downloaded (if digital products are enabled)
Digital Products
Orders containing downloaded digital products cannot be returned.
Return Reasons
Customers must select a reason when requesting a return:
| Reason | When to Use |
|---|---|
| No longer want | Changed mind, not needed |
| Damaged | Product arrived physically damaged |
| Defective | Product doesn't work properly |
| Incorrect item | Wrong product or variant received |
| Arrived late | Delivery missed expected date |
| Not as described | Product differs from description/images |
| Other | Custom reason (requires text description) |
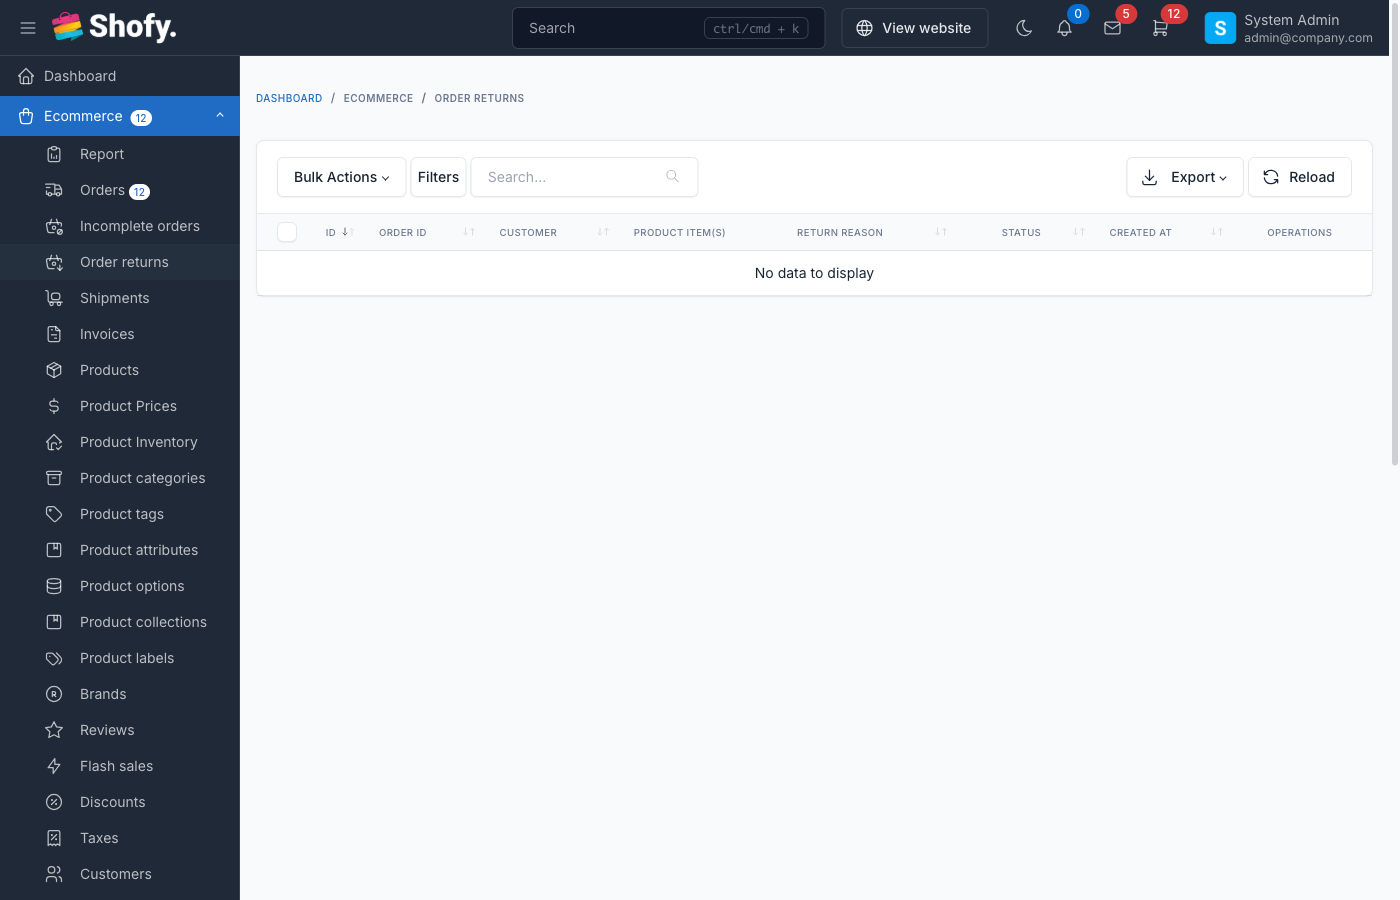
Accessing Return Requests
Navigate to Ecommerce -> Order Returns in the admin panel.
The returns table displays:
- Return code
- Order code
- Customer name
- Return reason
- Return status
- Creation date
- Actions (View/Edit/Delete)
Return Status Workflow
| Status | Description | Badge Color | Next Actions |
|---|---|---|---|
| Pending | Return requested, awaiting review | Yellow | Approve or reject |
| Processing | Return approved, items in transit | Blue | Mark as completed |
| Completed | Items received, refund processed | Green | None |
| Canceled | Return rejected or canceled | Red | None |
Status Changes
- Cannot change from Pending/Processing to the same status
- Cannot change from Completed or Canceled
- Can only progress forward through workflow
Customer Return Process
How Customers Request Returns
- Customer logs into their account
- Navigates to Order History
- Opens completed order (within return window)
- Clicks Return button
- Fills return form:
- Selects items and quantities to return
- Chooses return reason
- Adds additional details (optional)
- Uploads images (optional, up to 5 images)
- Submits return request
- System creates return with "Pending" status
- Customer receives confirmation email
TIP
Return requests are visible to customers in their account dashboard with tracking information.
Admin Return Processing
Reviewing Return Requests
To review a return request:
- Navigate to
Ecommerce->Order Returns - Click on pending return to open details
Return Details View Shows:
- Return code and date
- Original order information
- Customer information
- Return reason and description
- Uploaded images (if any)
- Items being returned with quantities
- Return history timeline
- Store location (if multiple stores)
Approving Returns
To approve a return:
- Open return details
- Change Return Status to "Processing"
- Add processing notes (optional)
- Click Save
- System logs status change
- Customer notified via email
Actions after approval:
- Provide customer with return shipping instructions
- Generate return label (if applicable)
- Wait for items to arrive
Completing Returns
Once returned items are received:
- Open return details
- Inspect received items
- Change Return Status to "Completed"
- Add completion notes (optional)
- Click Save
- Process refund through original order
Refund Process
After completing a return, go to the original order and process the refund for the returned items.
Rejecting Returns
To reject a return request:
- Open return details
- Change Return Status to "Canceled"
- Add rejection reason in notes
- Click Save
- Customer notified via email
Common rejection reasons:
- Outside return window
- Items not in original condition
- Missing original packaging
- Non-returnable items
- Evidence of misuse
Return Items Management
Each return request includes:
- Product name and SKU
- Product variation/options
- Quantity being returned
- Original order quantity
- Product price
- Subtotal for returned items
The system validates:
- Cannot return more than originally ordered
- Cannot return items not in the order
- Must return at least one item
Return History
Every return maintains a complete history:
- Return creation
- Status changes
- Admin notes
- Customer communications
- Timestamps and user info
View history in the return details page.
Images & Evidence
Customers can upload up to 5 images with their return request to show:
- Product damage
- Defects or issues
- Wrong items received
- Packaging problems
Admin can view these images in return details.
WARNING
Images are stored securely and only accessible to admin users and the customer who uploaded them.
Store Locations
If multiple store locations are enabled:
Returns can be assigned to specific stores for processing. This helps with:
- Regional returns processing
- Inventory management
- Shipping logistics
Return Codes
Return codes are auto-generated using the same format as order codes:
Format: PREFIX + NUMBER
Example: ORD-000123 (using order code prefix)
Refund After Return
Returns and refunds are separate processes:
Step 1: Complete the Return
- Receive returned items
- Inspect condition
- Mark return as "Completed"
Step 2: Process the Refund
- Navigate to original order
- Use refund function
- Select returned products
- Enter refund amount
- Add refund notes
- Process refund
TIP
Always complete the return before processing refunds to maintain accurate tracking.
Email Notifications
The system sends emails for:
- Return request received - Confirms customer's request
- Return approved - Provides return shipping instructions
- Return completed - Confirms receipt of items
- Return rejected - Explains rejection reason
- Refund processed - Confirms refund (from order refund system)
Configure email templates at Settings -> Email -> Ecommerce section.
Return Statistics
Track return metrics:
- Total returns by period
- Return rate by product
- Common return reasons
- Average processing time
- Completed vs canceled returns
Use this data to:
- Identify problematic products
- Improve product descriptions
- Optimize return policies
- Train customer service
Configuration Best Practices
Returnable Days
Conservative (14-15 days)
- Lower operational costs
- Faster inventory turnover
- Clear expectations
Standard (30 days)
- Industry standard
- Balances customer satisfaction and costs
- Reduces pressure on customers
Extended (60-90 days)
- Higher customer confidence
- Competitive advantage
- Increased operational costs
TIP
Match your return window to your product type and market expectations.
Return Reasons
Keep reasons:
- Clear - Easy to understand
- Specific - Actionable feedback
- Limited - Not overwhelming
- Inclusive - Cover all scenarios with "Other" option
Preventing Return Abuse
To minimize fraudulent returns:
- Document everything - Take photos of returned items
- Verify condition - Check against return policy
- Track patterns - Monitor customers with frequent returns
- Set clear policies - Communicate expectations upfront
- Inspect thoroughly - Verify returned items match order
- Use serial numbers - Track high-value items
Integration with Orders
The return system integrates with order management:
- Return button - Appears on eligible orders
- Return status - Shows on order details
- Order status updates - Changes to "Partial Returned" or "Returned" after return
- Linked records - Easy navigation between order and return
Troubleshooting
Return Button Not Showing
Check if:
- Return feature is enabled in settings
- Order status is "Completed"
- Order is within returnable days window
- Order doesn't already have a return request
- No digital products have been downloaded
Cannot Change Return Status
Verify:
- Not trying to change to same status
- Return is not already Completed or Canceled
- Current status allows the transition
Refund Not Processing
Ensure:
- Return is marked as "Completed" first
- Refund is processed from original order, not return record
- Payment method supports refunds
- Refund amount doesn't exceed order total
Customer Not Receiving Emails
Check:
- Email templates are enabled
- Email settings are configured correctly
- Customer's email address is valid
- Emails not in spam folder
Advanced Features
Multiple Store Locations
If using multiple stores:
- Assign returns to specific stores
- Track inventory by location
- Process returns at nearest facility
- Route items to appropriate warehouse
Return Analytics
Export return data for analysis:
- Navigate to return list
- Apply filters (date range, status, reason)
- Click Export button
- Analyze in spreadsheet
Metrics to track:
- Return rate by product category
- Average return processing time
- Refund amounts by reason
- Seasonal return patterns
Custom Return Policies
Implement product-specific return policies:
- Non-returnable items (clearance, personalized)
- Extended returns (holiday season)
- Restocking fees
- Store credit only options
WARNING
Custom policies require theme customization. The default system applies settings globally.
Frequently Asked Questions
How long do customers have to return items?
The Returnable days setting (default 30 days) defines the window. Days are counted from order completion date, not order creation date.
Can customers return partial orders?
Yes. Customers can select specific items and quantities to return. The system tracks which items were returned.
Do returned items restock automatically?
No. Returns and refunds are processed separately. When you refund through the order, you choose whether to restock items.
Can customers track return status?
Yes. Customers see return status in their account under order history. They receive email updates when status changes.
What happens to return images after processing?
Images are retained with the return record for reference. They can be deleted when the return is deleted.
Can I customize return reasons?
The return reasons are defined in the OrderReturnReasonEnum. Customization requires code changes. The "Other" option allows free-text reasons.
Best Practices
Process returns quickly - Review requests within 24-48 hours
Communicate clearly - Explain next steps when approving or rejecting
Inspect carefully - Verify returned items before completing return
Document condition - Take photos of returned items
Set clear policies - Make return policies visible on product pages
Train staff - Ensure team knows return processing steps
Monitor trends - Track return reasons to improve products
Be customer-focused - Prioritize fair treatment while protecting business
Use private notes - Document internal decisions for team reference
Follow up - Confirm customer satisfaction after refund processed