Product Specifications
Product specifications provide detailed technical information about your products in a structured, organized format. They display as tables on product pages and help customers make informed purchase decisions.
Overview
The specification system has three components:
- Specification Groups - Organize related specs (e.g., "Display", "Performance")
- Specification Attributes - Individual specs within groups (e.g., "Screen Size", "RAM")
- Specification Tables - Collections of groups applied to products
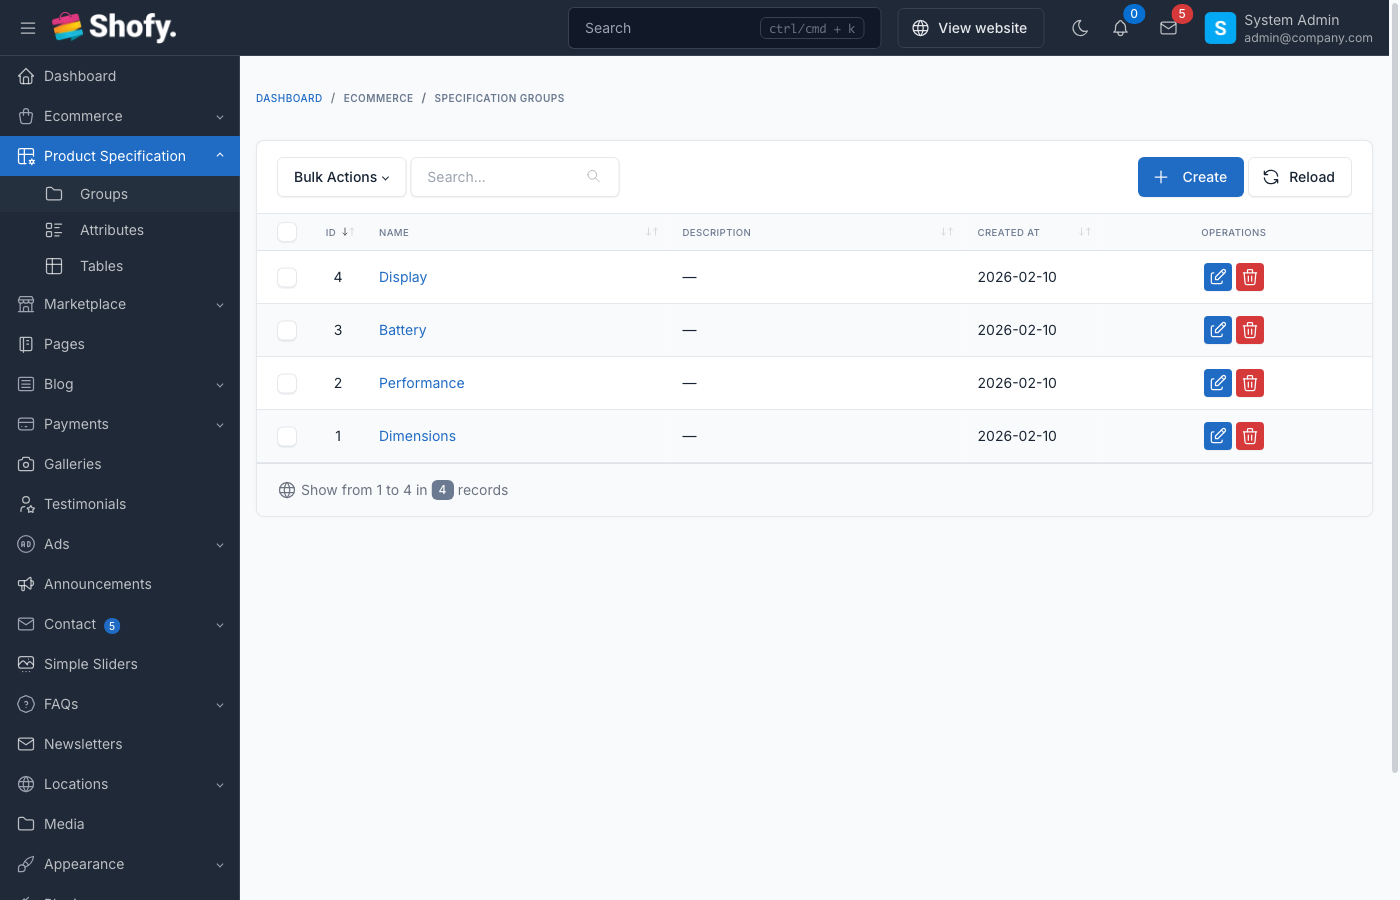
Creating Specification Groups
Groups organize related specifications together.
Navigate to Ecommerce -> Specifications -> Groups in the admin panel.
- Click Create
- Enter group details:
- Name - Group title (e.g., "Display Specifications")
- Description - Optional group description
- Click Save
Common specification group examples:
- Display Specifications
- Performance
- Connectivity
- Physical Dimensions
- Battery & Power
- Camera Specifications
Creating Specification Attributes
Attributes are the actual specifications within groups.
Navigate to Ecommerce -> Specifications -> Attributes.
- Click Create
- Fill in attribute details:
- Group - Select the parent group
- Name - Attribute label (e.g., "Screen Size")
- Type - Field type (see below)
- Default Value - Pre-filled value (optional)
- Configure type-specific options
- Click Save
Specification Attribute Types
| Type | Description | Use Case |
|---|---|---|
| Text | Single-line text input | Short values (e.g., "6.1 inches") |
| Textarea | Multi-line text input | Long descriptions |
| Select | Dropdown menu | Predefined options (e.g., "Yes/No") |
| Checkbox | Multiple selections | Multiple features (e.g., connection types) |
| Radio | Single selection | Mutually exclusive options |
Adding Options for Select/Checkbox/Radio
For select, checkbox, and radio types:
- In the Options field, enter one option per line:
Option 1 Option 2 Option 3 - These become the selectable values
Creating Specification Tables
Tables combine multiple groups for easy assignment to products.
Navigate to Ecommerce -> Specifications -> Tables.
- Click Create
- Enter table details:
- Name - Table identifier (e.g., "Smartphone Specifications")
- Description - Optional description
- In Groups section:
- Click Add group
- Select specification group
- Set display order
- Repeat for all groups
- Click Save
TIP
Create different specification tables for different product types. For example:
- "Laptop Specs" for computers
- "Smartphone Specs" for phones
- "TV Specs" for televisions
Assigning Specifications to Products
Method 1: Via Specification Table
- Navigate to
Ecommerce->Products - Open a product
- Scroll to Specifications section
- Select a Specification Table
- All attributes from that table appear
- Fill in values for each attribute
- Optional: Set Display Order for attributes
- Optional: Check Hidden to hide specific attributes
- Click Save
Method 2: Manual Assignment
- Open a product
- In Specifications section, click Add attribute
- Select individual attributes (without a table)
- Fill in values
- Click Save
Configuring Attribute Values
For each attribute on a product:
| Setting | Description |
|---|---|
| Value | The actual specification value |
| Order | Display priority (lower numbers first) |
| Hidden | Hide this attribute on frontend |
Field Type Behavior
Text/Textarea:
- Enter free-form text
- Uses default value if left empty
Select:
- Choose one option from dropdown
- Must match predefined options
Checkbox:
- Select multiple options
- Values stored as comma-separated
Radio:
- Choose one option
- Mutually exclusive selection
Display on Product Pages
Specifications display as grouped tables on product detail pages:
Display Specifications
━━━━━━━━━━━━━━━━━━━━
Screen Size     6.1 inches
Resolution      2532 x 1170 pixels
Display Type    OLED

Performance
━━━━━━━━━━━━━━━━━━━━
Processor       A15 Bionic
RAM             6GB
Storage         128GB
Order of display:
- Groups appear in the order defined in Specification Table
- Attributes within groups follow their Order setting
- Hidden attributes don't display
Hiding Specifications
You can hide specific attributes per product:
- Open product
- In specifications section, find the attribute
- Check Hidden
- Attribute won't display on frontend but remains in admin
Use cases:
- Not applicable for this product variant
- Information not yet available
- Temporarily hide without deleting
Import/Export Specifications
Export Specifications
Navigate to Ecommerce -> Products -> Export Specifications:
- Select export format
- Export includes:
- Product ID
- Product Name
- Specification Table
- All attribute values
- Download file
Import Specifications
Navigate to Ecommerce -> Products -> Import Specifications:
- Download template
- Fill in columns:
product_idorproduct_name- Product identifierspecification_table- Table name (optional){attribute_name}- Value for each attribute
- Upload and import
WARNING
Product must exist before importing specifications. Import products first, then specifications.
Multi-language Support
If language plugin is active:
- Edit specification attribute
- Switch language in top bar
- Translate attribute Name
- Save for each language
Product-specific values:
- Edit product
- Switch language
- Translate specification Values
- Save
Vendor-Specific Specifications (Marketplace)
If marketplace plugin is active:
Vendors can create their own specification groups and attributes:
- Navigate to vendor dashboard
- Go to
Products->Specifications - Create custom groups/attributes
- These are vendor-specific and don't appear for other vendors
Admin-created specifications are available to all vendors.
Troubleshooting
Specifications not appearing on product page
- Check specification table assigned - Product must have a table or manual attributes
- Verify attribute values filled - Empty attributes may not display
- Check Hidden checkbox - Ensure attributes aren't hidden
- Clear theme cache - Run
php artisan cms:theme:assets:remove
Import fails with "Attribute not found"
- Check attribute names - Must match exactly (case-sensitive)
- Create attributes first - Import requires existing attributes
- Verify specification table - Table name must exist if specified
Can't edit vendor specifications as admin
By default, vendor-created specifications only appear in vendor scope. To access:
- Disable global scope temporarily
- Or access via vendor account
Best Practices
- Plan your structure - Create groups and attributes before assigning to products
- Use consistent naming - Keep attribute names uniform across products
- Leverage specification tables - Create reusable tables for product categories
- Set meaningful defaults - Provide default values for common specs
- Order logically - Display most important specs first
- Use appropriate types - Select correct field type for each attribute
- Keep it relevant - Only include specs customers care about
- Update regularly - Keep specifications current as products evolve
Example: Smartphone Specification Setup
Groups:
- Display
- Performance
- Camera
- Battery
- Connectivity
Attributes (Display group):
- Screen Size (text)
- Resolution (text)
- Display Type (select: OLED, LCD, AMOLED)
- Refresh Rate (select: 60Hz, 90Hz, 120Hz)
Specification Table:
- Name: "Smartphone Specifications"
- Groups: Display, Performance, Camera, Battery, Connectivity
Apply this table to all smartphone products, then fill in specific values per product.